
When it comes to marketing your products, the labels you use can make or break the image of your brand. DIY labels are a great way to customize, personalize and market your product, but it’s essential to get them right. From font choice to material selection and color scheme, numerous factors should be considered when creating DIY labels to ensure the end product looks professional and attractive. In this article, we discuss what factors should be considered when creating DIY labels, as well as tips on creating eye-catching designs that will help boost sales and improve customer satisfaction.
DIY vs professionally printed labels: What is the difference?
When it comes to labels, an adage comes to mind: you get what you pay for. DIY labels can save you money, but the quality and longevity of your label may suffer if not done properly. Professionally printed labels, on the other hand, guarantee a product that is made with high-quality materials and has long-lasting durability.
When deciding between DIY and professionally printed labels, the cost is a key factor. Professionally printed labels can be expensive, so if your budget is tight, DIY labels might be the better option. That said, it’s essential to consider the other factors that will affect the quality of your labels, such as layout design, material selection, and color scheme.
Product labels represent your product
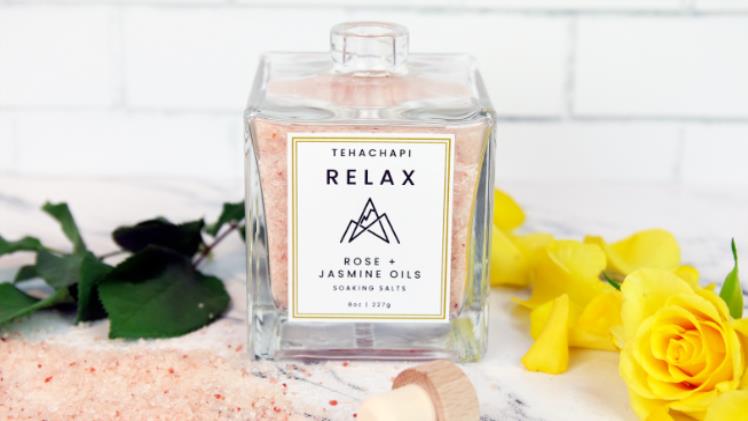
When creating your label, think of it as an extension of your brand. Your label is a representation of your product, so you want to make sure that it looks professional, attractive and high-quality—even if you’re going the DIY route. This means paying attention to design elements such as font selection, line spacing, and color scheme.
The right layout can boost sales
Your layout’s goal is to make your product stand out from the crowd and catch the eye of potential customers. To achieve this, you want to create an eye-catching design that is visually appealing and informative. So be sure to consider the layout of your label: where the text should appear, the size of the font, and how much information you need to include. You can also find even more label design tips here.
Materials determine quality
The material you choose for your label should depend on its intended use. For instance, if you are applying your label to a product that will be exposed to moisture or extreme temperatures, then you should choose a material such as vinyl or anything waterproof. On the other hand, if your product is not likely to be exposed to any harsh conditions, then paper would work just fine.
Top 5 things to remember when DIYing your labels
- Invest in quality materials: Cheap materials will compromise the look and longevity of your label.
- Pay attention to design elements: A well-designed label will help your product stand out.
- Choose the right layout: The right layout can help draw attention to key information about your product.
- Consider the application: The material you choose should depend on the intended use of your label. If you are struggling, you can take an instant quiz here.
- Test and refine: Before sticking your labels onto products, test them out to ensure they look presentable and are printed correctly.
DIY labels can be a great way to customize and market your product without breaking the bank. By following the tips and guidelines spicecinemas outlined in this article, you can create eye-catching labels that will help boost sales and improve customer satisfaction. Good luck with your labels.