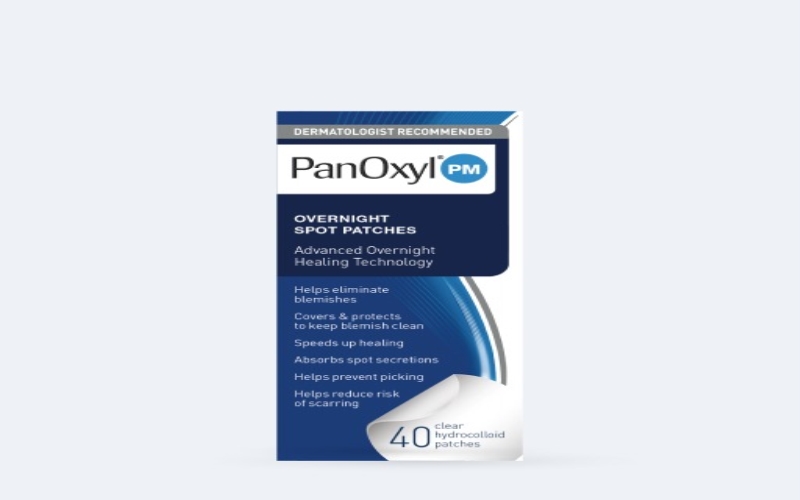
Did you know that acne spot patches have become a go-to solution for many individuals dealing with pesky pimples? Well, these small, adhesive patches offer a focused and effective way to reduce blemishes, although a surprising number of people use them incorrectly, meaning they don’t get the most out of them. We don’t want that to happen, as everyone deserves to get great value from the acne-controlling products they buy. As such, we created this short blog to give you a step-by-step guide on how it’s done. The good news is that it’s not a difficult process when you know what you’re doing.
Step 1 in Using Acne Spot Patches – Identify an Appropriate Pimple
The first part of the job of getting value from your acne spot patches is to identify the right kind of pimples to use them on. Hydrocolloid patches are designed to work on spots that have come to a head i.e. whiteheads or those that are just about to.
Step 2 – Cleanse Your Skin
Before applying the patch, it’s essential for your skin to be clean and dry – otherwise, it’s not going to adhere properly and will end up falling off. As such, you should use a gentle cleanser to remove dirt, oil, and any makeup that might be on your face. When drying the skin, be sure to dab it, rather than rubbing it, to avoid damaging it and/or spreading bacteria.
Step 3 – Choosing the Right Patch
In your average box of spot patches, you’ll find a selection of different sizes, as spots also come in different sizes and shapes. So, you should pick one that’s slightly bigger than the pimple to ensure that the whole affected area is completely covered, allowing the patch to work as it should.
Step 4 – Applying the Patch
Next, you’ll actually be putting the patch on. Try not to touch the adhesive side too much, as oils from your fingers can reduce the stickiness and cause it to fall off too early. Carefully place the patch over the pimple, making sure the spot is in the centre. Then, gently press the patch for a few seconds to ensure it glues properly to the skin.
Step 5 – Let it Do Its Work
Once the patch is successfully applied, it’s time to let it do its work. These patches are designed to be left on for several hours, often overnight, to absorb pus and reduce inflammation.
The duration can vary depending on the patch’s brand and type, so make sure you look at the product’s instructions on the packaging for specific timing.
Step 6: Removing the Patch
Now you’ll be gently peeling off the patch from one edge to the other while making sure you don’t pull too hard, as it might irritate the skin. If you applied the patch before going to bed, it’s best to remove it first thing in the morning. You’ll often see that the patch has turned white due to the absorbed gunk from inside the zit.
Step 7: Clean & Repeat if Necessary
Lastly, you should clean the area and assess the pimple condition. If required, a new patch can be applied the following night. This process gives the zit in question the chance to heal fast and you the confidence to get on with your day.
Acne Spot Patches – Great For Your Skincare Routine
What you have to remember is acne patches are for spot treatment and not a replacement for a comprehensive skincare regimen. They’re basically for dealing with spots as they appear, but they won’t stop them coming, as that’s what products like acne washes are for.
This is a simple, effective, and discreet way to deal with individual pimples, and by following these steps, you can get your skin back on track. It’s worth giving a try, wouldn’t you say?

